5.2 - Create digital "master files" of photographic prints
The Epson V850 is the default scanner for photographic prints, and the only scanner equipped to digitize slides and photographic negatives. Always wear clean cotton gloves when handling any kind of graphic material. Do not leave fingerprints.
Set up scan job
- Turn on computer.
- Create top-level folder in the local storage or external hard drive. Name the folder after the reference code for fonds or collection.
- Create a hierarchical directory of sub-folder(s) named after physical boxes and/or folders within the fonds or collection. See Appendix B - Guiding principles for file naming and file organization for guidance on organizing and naming files created by the scanner.
- Press the power button on bottom left corner of scanner front panel:
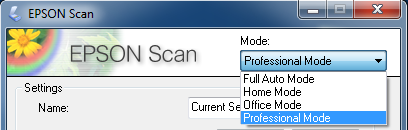
- Launch Epson Scan software
- Ensure Epson Scan is set to “Professional Mode”:
- Set the technical specifications for the scan job. See Appendix C - Technical specifications for "master" files for guidance determining specifications for each format.
Scan photographic prints
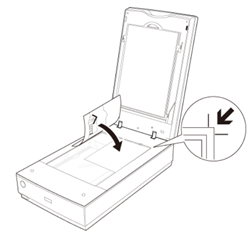
- Place photographic print face down on scanner bed, ensuring that white document mat is attached.
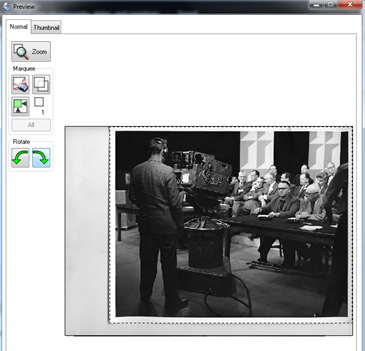
- Click “Preview" button:
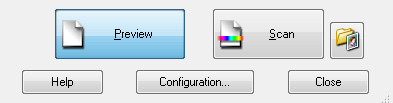
- Check the auto crop. Adjust cropping and rotating as necessary.
- Click the "Scan" button. This will open a "File Save Settings" pop up window.
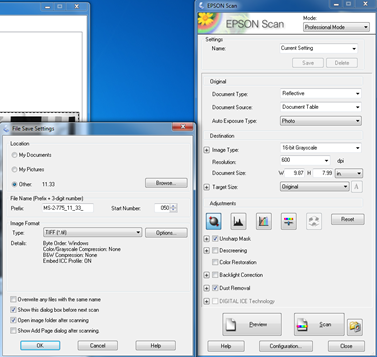
- Set the file save settings:
- Ensure the correct destination folder or sub-folder is selected as the save location.
- Enter file prefix.
- Make sure auto sequencer is set correctly. Each file-level description should start at 001 and receive sequential numbers until all the slides within the file have been scanned and assigned file names that correspond to the new item-level reference codes.
- See Appendix B - Guiding principles for file naming and file organization for guidance on file naming and file organization.
- Click “OK” to start the scan. The scanner will save the image in the chosen folder.
- Open the scanner cover and remove photographic print when scan is complete.
- Return photographic print to physical storage.
- Repeat steps 1 through 8 until all photographs in the file are scanned.
- Make appropriate notes in the associated archival descriptions if certain items are not digitized.