...
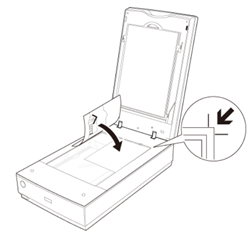
- Place photographic print face down on scanner bed, ensuring that white document mat is attached.
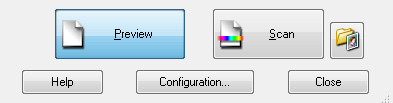
- Click “Preview" button:
- Check the auto crop. Adjust cropping and rotating as necessary.
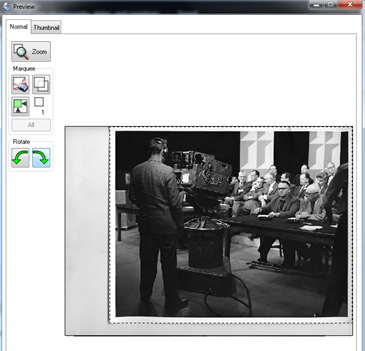
- Click “Scan,” and use the pop up window to select destination folder, file name and start number, and image format.
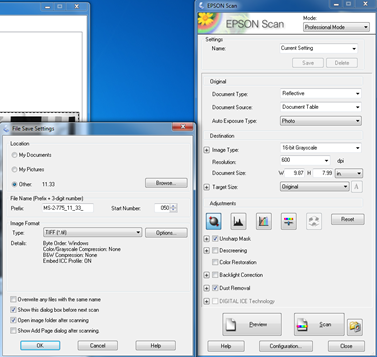 the "Scan" button. This will open a "File Save Settings" pop up window.
 - Set the file save settings:
- Ensure the correct destination folder or sub-folder is selected as the save location.
- Enter file prefix.
- Make sure auto sequencer is set correctly. Each file-level description should start at 001 and receive sequential numbers until all the slides within the file have been scanned and assigned file names that correspond to the new item-level reference codes.
- See Appendix B - Guiding principles for file naming and file organization for guidance on file naming and file organization.
- Click “OK” to start the scan. The scanner will save the image in the chosen folder.
- Open the scanner cover and remove photographic print when scan is complete.
- Return photographic print to physical storage.
- Repeat steps 1 through 8 until all photographs in the file are scanned.
- Make appropriate notes in the associated archival descriptions if certain items are not digitized.