Add item to register of digital storage devices
- Creighton Barrett
Introduction to the register of digital storage devices
The Archives maintains a register of digital storage devices that provides detailed information about each digital storage device in the Archives Permanent Collection. The register was produced as part of a digital archives collection assessment conducted in 2016. The register is now maintained in the University Archives' SharePoint site.
The purposes of the register are to:
- Provide an authoritative list of digital storage devices in the Archives Permanent Collection.
- Assign unique identifiers to each digital storage device in the Archives Permanent Collection.
- Track digital forensics activities carried out in the Digital Forensics Lab.
The register looks up data from from the Libraries' /wiki/spaces/APM/pages/90538072 and from the master list of media formats.
Physically house digital storage device in a "Born Digital" box
The "Born Digital" box system was devised during the digital archives collection assessment. Physically separating digital storage devices and grouping them together is time consuming but it is essential for the Archives to maintain control of born-digital archives prior to archival processing. It also facilitates work in the Digital Forensics Lab.
Digital storage devices must be physically separated from analog materials:
- Locate digital storage device.
- Physically remove digital storage device from the analog material. Make note of accession box and folder number if applicable.
- Assign new, unique "Born Digital" reference code to storage device. "Born Digital" reference codes must include:
- Collection ID
- “BD Box” number
- BD Item number (e.g., MS-2-789, BD Box 48, Item 20)
- Collection ID
- Create a detailed record of the digital storage device in the register.
- Place digital storage device in polypropylene sleeve unless carrier has hard-plastic container (e.g., MiniDV, DVCAM, DVD case). If the device is an optical disc (e.g., CD-ROM, DVD-R) without a hard-plastic container, place it in a polypropylene compact disc case.
- Print temporary unique reference code on mailing address label and affix label to polypropylene sleeve or container.
- If the digital storage device was physically separated from analog material, complete a separation sheet and place one copy in the analog records and another copy with the digital storage device. Note: associated analog material must also be indicated in the register.
Create Evidence IDs for forensic disk images
See the page on digital forensic workflows for further guidance on creating Evidence IDs.
Evidence IDs are the file names used to save a forensic disk image to local storage. Evidence IDs should be generated when a digital storage device is registered. Evidence IDs have three components:
- Collection ID: Begin the file Collection ID column in the register of digital storage devices.
- Format: Derived from the Format column in the register of digital storage devices. For example:
- Hard disk drive: HDD
- CD-RW: OpticalDisc
- Floppy disk (3.5 inch): 3.5inchfloppy
- Item number: Sequential number assigned to items within a collection that share a format type.
The three components combine to form a unique Evidence ID for the "master" forensic disk image: CollectionID_Format_ItemNumber
Generally, two copies of a forensic disk image are created. The first image is the "master" disk image used to support data backup and preservation. The second image is the "copy" disk image used during processing in FTK or other systems. If something happens to the "copy" disk image during processing, the "master" disk image can be copied again.
If "copy" disk images are generated, the Evidence ID receives a "copy" suffix: CollectionID_Format_ItemNumber_copy
Add item to the register
To add an item to the register of digital storage devices:
- Log into MyDal.
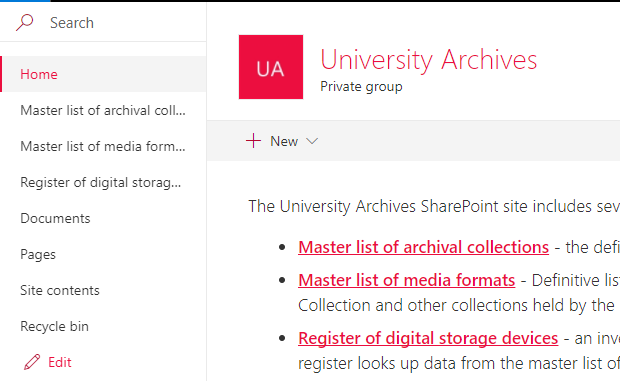
- Navigate to the University Archives SharePoint site.
- Click on the Register of digital storage devices link on the homepage. The link is also pinned to the Quick Launch menu on the left side of the page.
- This will display the SharePoint list.
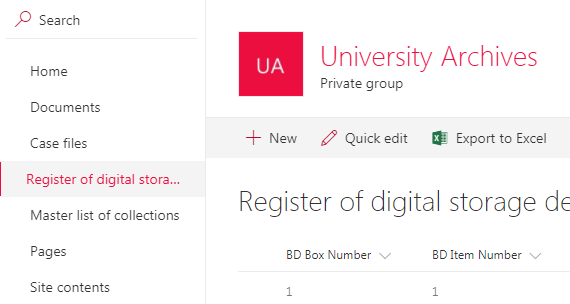
- Click on the + New button in the list horizontal menu. This will open the New Item form.
- Compete the form. Required fields are marked with asterisks, but efforts should be made to complete optional fields as best as possible. Refer to the table below for guidance on the information elements included in the form.
Information elements in the register
The following table defines the information elements in the register of digital storage devices:
| Field | Description | Required / Optional |
|---|---|---|
| Extent | Enter the number of digital storage devices described in the list item. Default is 1. | Required |
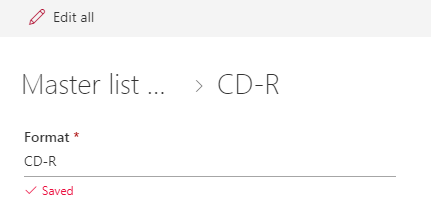
| Format | Lookup format from the master list of physical objects. See the digital archivist if the item is unidentifiable or if the format is not listed in the master list of physical objects. | Required |
| Format: Type of digital storage device | Automatically populated field. The type of digital storage device is added to the register along with the format looked up from the master list of media formats. | N/A |
| Collection title | Automatically populated field. Title of the fonds or collection is added to the register along with the Collection ID looked up from the Archives' /wiki/spaces/APM/pages/90538072. | N/A |
| Collection ID | Lookup the Collection ID from the Archives' /wiki/spaces/APM/pages/90538072. | Required |
| Accession number | Record the accession number. | Optional |
| Title | Record a title that describes the digital storage device. Follow the guidelines for formal and supplied titles proper provided in the Archival Processing Manual. | Required |
| Date | Record the date or range of dates of creation of the data stored on the digital storage device. Use YYYY-MM-DD format. | Optional |
| Manufacture | Record the manufacturer of the digital storage device. | Optional |
| Brand/model number | Record the brand name or model number of the digital storage device. | Optional |
| Serial number | If applicable, record the serial number of the digital storage device (e.g., hard drives, external hard drives, etc.). | Optional |
| Format: Dimensions | Automatically populated field. The dimensions of the digital storage device is added to the register along with the format looked up from the master list of media formats. | N/A |
| Physical condition | Record information about the physical condition of the digital storage device. | Optional |
| Advertised maximum storage size in MB | If applicable, record the advertised maximum storage size in MB. The typical maximum storage size of the device is recorded in the master list of media formats. | N/A |
| Notes about software requirements | Record known information on software requirements, file formats, file systems, operating systems, etc. Do not record information on hardware requirements (this information is recorded in the master list of media formats). | Optional |
| General notes | Record any other known information about the digital storage device or its context of creation and use. | Optional |
| Associated analog materials | Record reference code(s) for associated analog materials in physical storage (e.g., the reference code for paper documents previously interfiled with a CD-R). | Optional |
| Original box number | If applicable, record the original box number where the digital storage device was stored prior to physical separation. | Optional |
| Original folder number | If applicable, record the original folder number where the digital storage device was stored prior to physical separation. | Optional |
| Original item number | If applicable, record the original item number assigned to the digital storage device prior to physical separation. | Optional |
| BD Box Number | Record the "Born Digital" box number where the digital storage device is located. | Required |
| BD Item Number | Record the "Born Digital" item assigned to the digital storage device. | Required |
| Separation / registration date | Record the date the digital storage device was separated from analog records or registered as a newly accessioned item. Use YYYY-MM-DD format. | Required |
| Separated / registered by | Record the name of the individual responsible for separating the digital storage device from previously accessioned analog records or registering a newly accessioned item. | Required |
| Imaged (Y/N) | Use "Yes" or "No" to indicate if the digital storage device has been imaged. | Optiona |
| Evidence ID | Record the Evidence ID created for the forensic image. See the instructions on creating Evidence IDs for forensic disk images. | Optional |
| Image date | Record the date the forensic disk image was created. Use YYYY-MM-DD format. | Optional |
| Disk image size in MB | Record the size of the forensic disk image in MB. | Optional |
| Imaged by | Record the name of the individual responsible for creating the forensic disk image. | Optional |
| Photographed (Y/N) | Use "Yes" or "No" to indicate if the digital storage device has been photographed. "Yes" should only be selected if the photographs have been saved to the Archives NAS drive. | Optional |
Edit an entry in the register
To edit an entry in the register of digital storage devices.
- Log into MyDal.
- Navigate to the University Archives SharePoint site.
- Click on the register of digital storage devices link on the homepage. The link is also pinned to the Quick Launch menu on the left side of the page.
- This will display the SharePoint list.
- Scroll through the list or use filters to locate the entry that requires editing.
- Double-click on the list item to open the edit window.
- Move the cursor to the field that requires editing and apply the necessary revisions.
- Individual changes will automatically save (only if the Edit form is opened by double-clkicking
- If the list item requires substantial revisils, click on the "Edit all" button in the horizontal list menu. This will open the entire list item form.
- Apply the necessary revisions.
- Scroll down to the bottom of the list item form and click save.
- Alternatively:
- Hover the cursor over the item.
- Click on the circular checkbox next to the "MS group" column.
- Click on the "Edit" button in the horizontal list menu.
- Hover the cursor over the item.
- Scroll down to the bottom of the form and clock on the "Save" button to save the edits.

- Review the revisions in the list view to ensure accuracy.