8.2 - Create digital "master files" of glass plate negatives
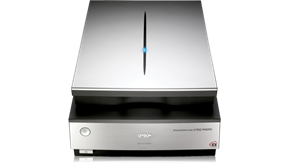
The Epson V850 is the default scanner for glass plate negatives and lantern slides. Always wear clean cotton gloves when handling any kind of graphic material. Do not leave fingerprints. Glass plate negatives and lantern slides are extremely heavy and fragile. Use caution when digitizing glass plates.
Set up scan job
- Turn on computer.
- Create top-level folder in the local storage or external hard drive. Name the folder after the collection ID.

- Open the Create a hierarchical directory of sub-folders named after the boxes and/or folders within the fonds or collection.
- For example, inside the PC2 folder, create a series of folders named after the boxes:
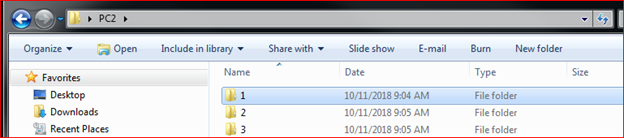
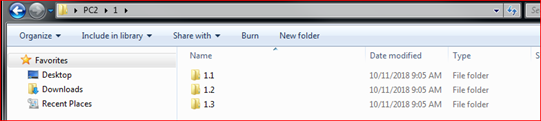
- And create a series of sub-folders that represent a combination of the box and folder number:
- See Appendix B - Guiding principles for file naming and file organization for guidance on organizing and naming files created by the scanner.
- For example, inside the PC2 folder, create a series of folders named after the boxes:
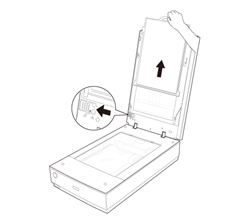
- Press the power button on bottom left corner of scanner front:
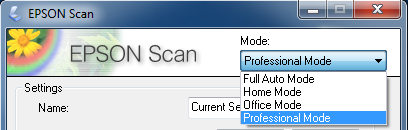
- Launch Epson Scan software.
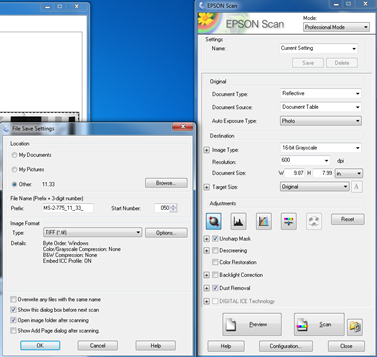
- Ensure Epson Scan is set to “Professional Mode”:
- Set the technical specifications for the scan job.
- Document Type: Film (with Film Holder) or Film (with Film Area Guide)
- Film Type: B&W Negative Film
- Image Type: 16-bit grayscale
- Resolution: 3200 - 4800 dpi (smaller glass plates require higher dpi)
- Adjustments: check "Unsharp Mask"
- See Appendix C - Technical specifications for "master" files for guidance determining specifications for each format.
- Check the "Other" radio button and click on the "Browse" button to set the file save location.
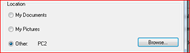
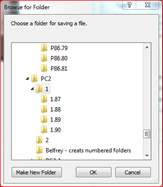
- Navigate to the folder. The "Browse for Folder" window provides an option to create a new folder if necessary.
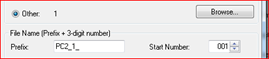
- Determine the File Name of each "master file." The Prefix and Start Number combine to form the name of the "master file" that the scanner saves in the save location:
- Prefix: Collection ID, Box Number, Folder Number, etc.
- Start Number: Sequential number that is supposed to match the page number within a file or item. Start numbers can also be used to add sequential item numbers to the File Name.
- Prefix: Collection ID, Box Number, Folder Number, etc.
- Select TIFF (*.tif) from the Image Format Type menu.

- Check the options to show the dialogue box before and to open image folder after scanning.
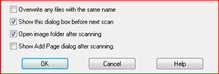
- Click OK.
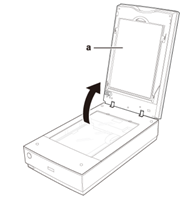
- Remove the document mat:
Scan glass plate negatives
- Put on a pair of clean white gloves for handling photographic material.
- Wipe both sides of scanning surface glass with non-static cloth. Remove as much dirt as possible.
- Place glass plate face down (i.e., dull side up) on the scanner. Do not touch the image.
- Check the scanner configurations.
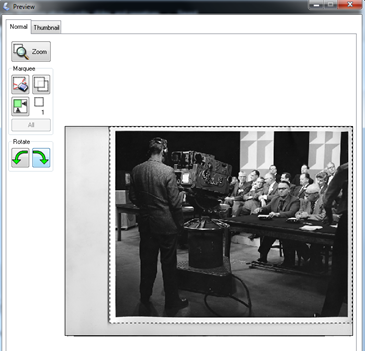
- Click “Preview" button:

- Use the Zoom tool to enlarge the image as necessary. Click on the "Full" button exit Zoom.


- Use the Rotate tool to rotate the image as necessary.

- Check the auto crop. Use the "Marquee" to adjust cropping as necessary. Digitized lantern slides should include the black border around the image to retain the look and feel of the slide.
- Click the "Scan" button. Use the "File Save Settings" window to select destination folder, file name and start number, and image format.
- Confirm settings and click the OK button.
, multiple selections available,